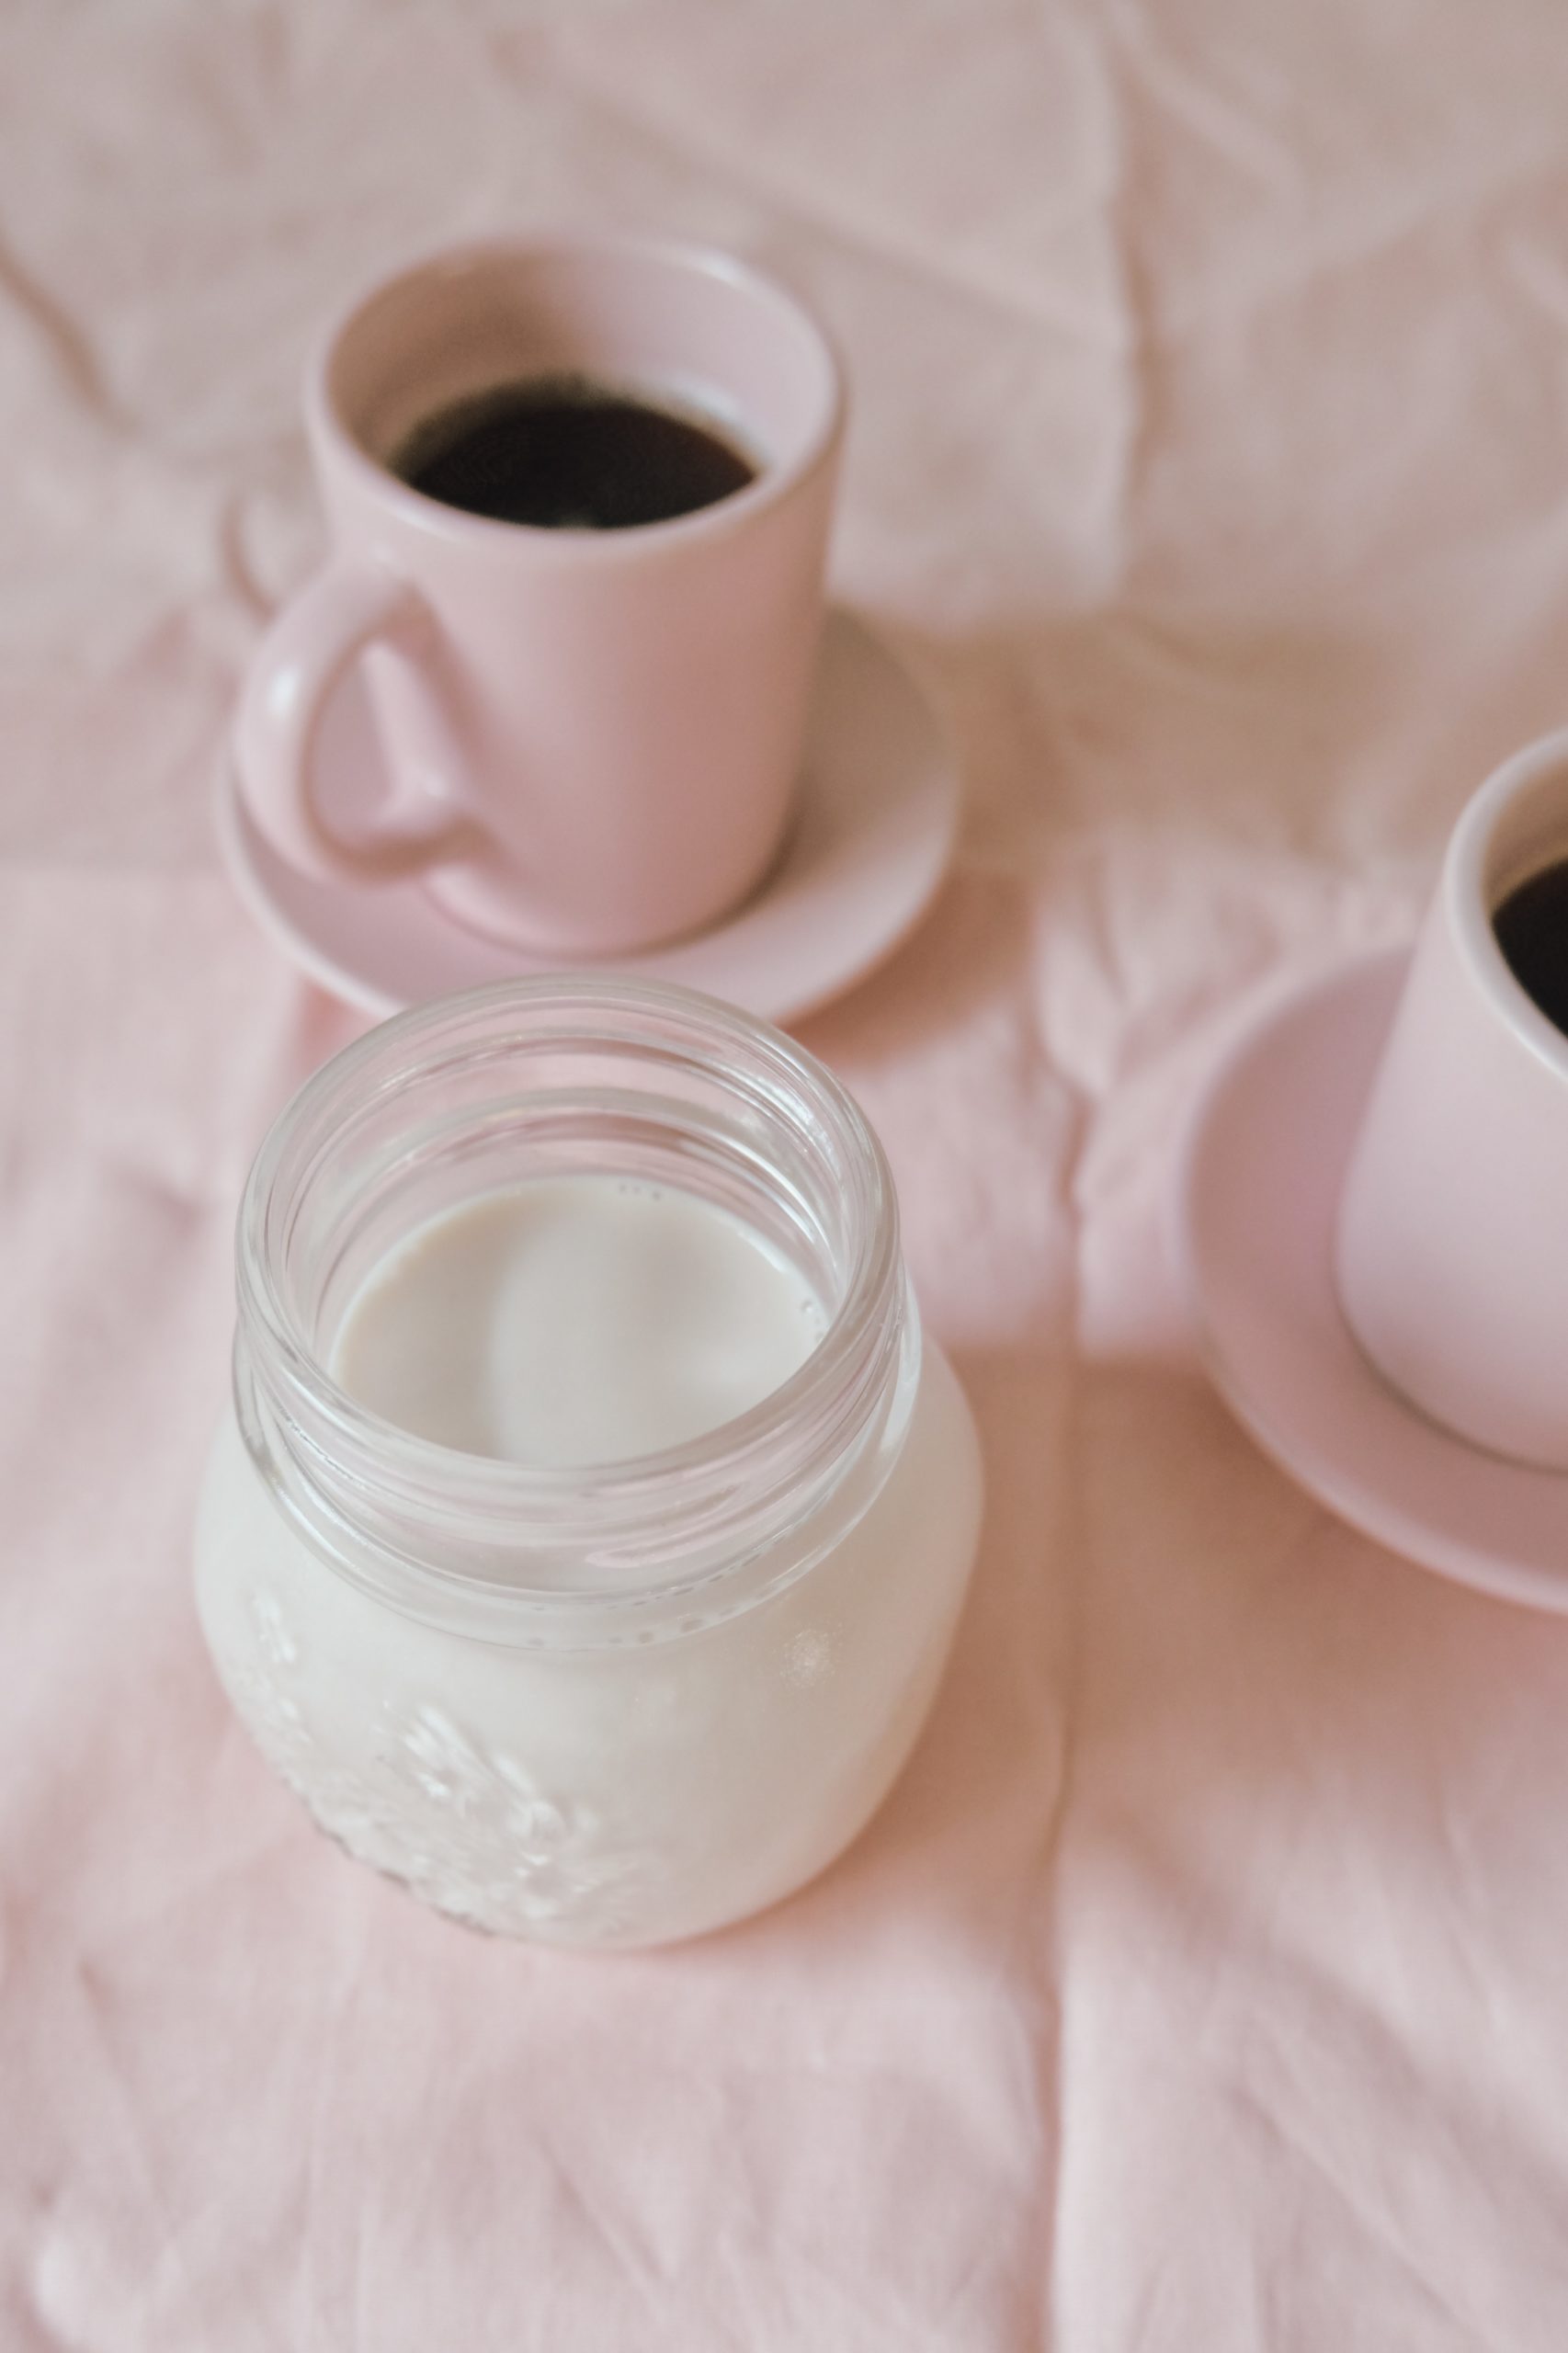
Easy Almond Milk Recipe

I was first introduced to Almond milk a few years back as an alternative to dairy when I was looking to cut back on my dairy consumption. For years I drank the store bought almond milk but found I had to regularly check the back for the ingredients – not to mention, the milk usually came in a 1l container and had to be consumed in a few days. I could never finish that much almond milk so often I would need to toss the milk because it went bad.
A couple of months ago, I plucked up the courage to try making my own. It’s so easy and tasted way better than the store-bought milk. I haven’t looked back ever since and now make almond milk for my coffee and smoothies. I also like that I am able to control the portion size to make sure nothing goes to waste.
I wanted to share my own version of DIY almond milk that you can try.
Ingredients
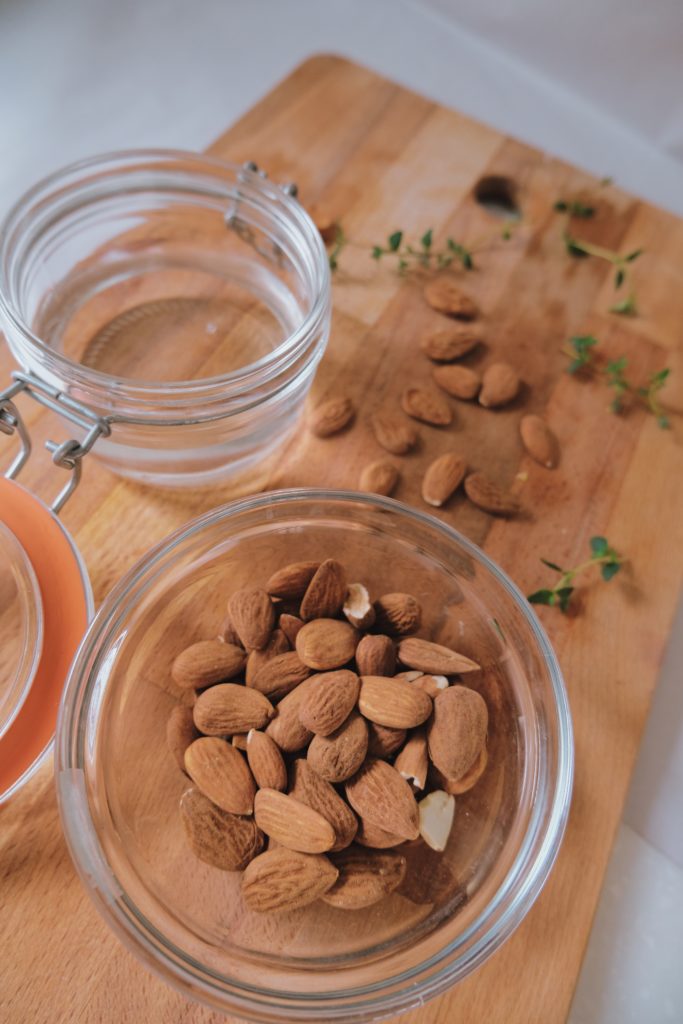
- Raw Almonds
- Water
- Vanilla Essence (Optional)
- Honey (Optional)
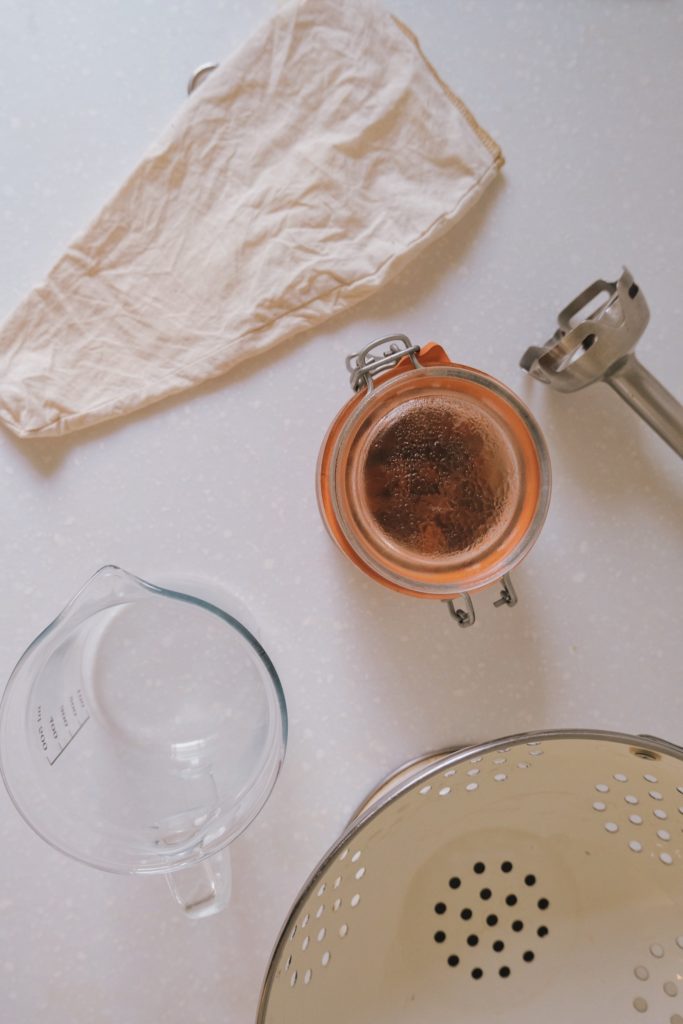
Equipment
- Blender – A stick blender will also suffice
- Colander / Strainer
- Cheesecloth – if you don’t have cheesecloth handy, Tshirt material will do.
- Jar with a lid
Method
Step 1
Grab a handful of almonds or a cup, depending on how much milk you would like to make and place the almonds in a jar. Cover the almonds in water, close the lid and pop in the fridge overnight.
Step 2
Once your almonds have soaked overnight, pour your almonds into a colander or strainer and give them a good rinse.
Step 3
Pop your soaked almonds in the blender with some water – start with enough water to cover the almonds at least and add more if needed. Blend until the almonds have become fine and you have a good amount of liquid.
Step 4
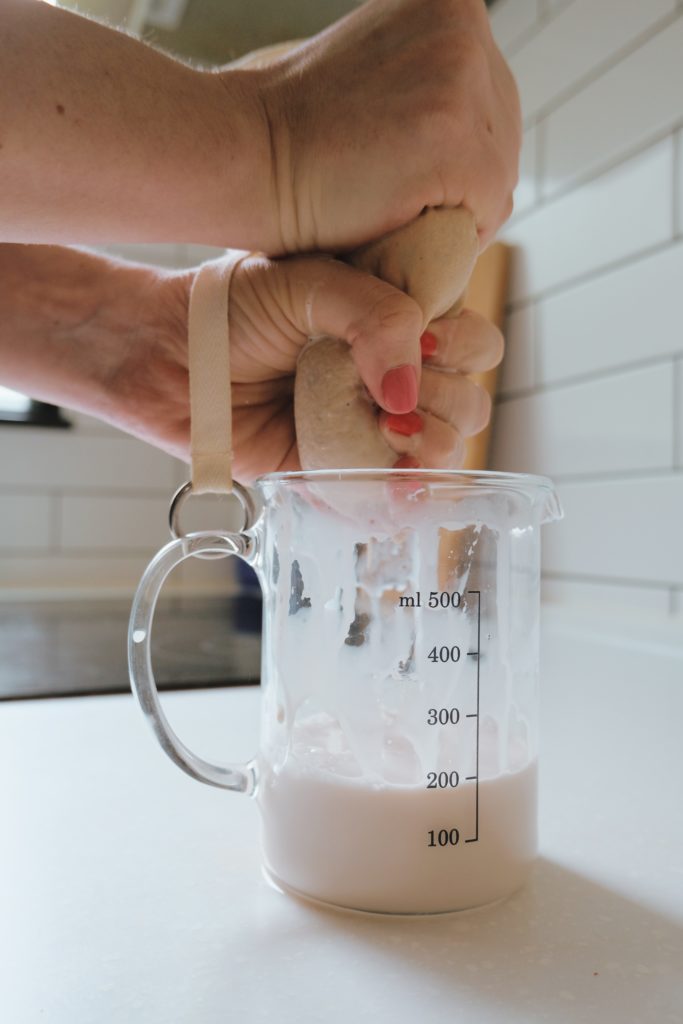
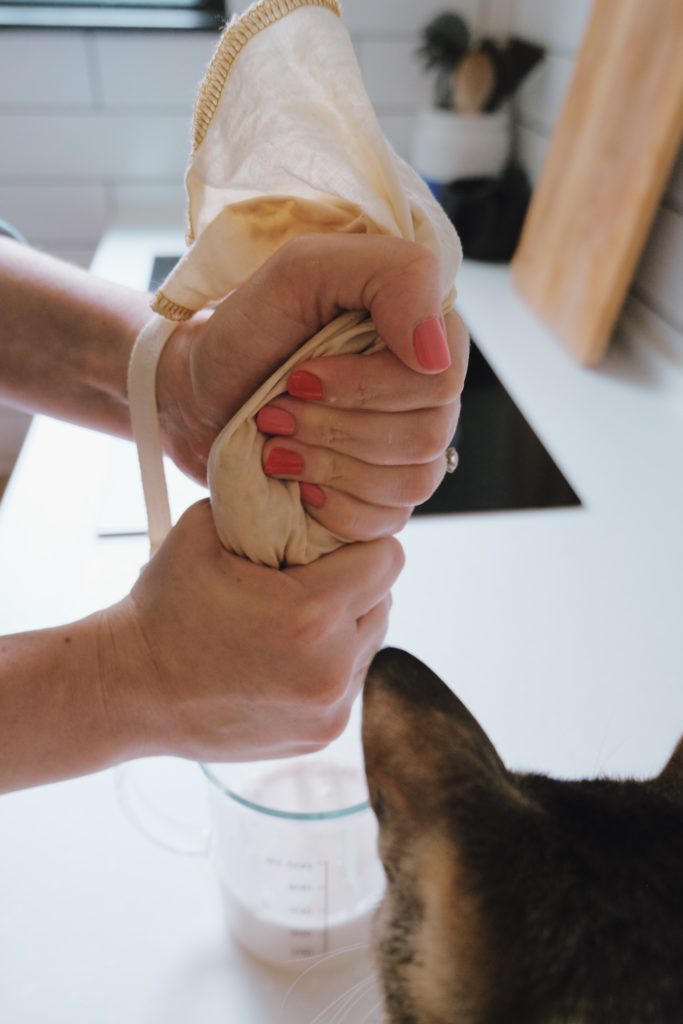
Pour the liquid into your cheesecloth over a jar and begin squeezing out the liquid through your cheesecloth. You should be left with the dry almond husk in your cheesecloth.
Step 5
Transfer to a milk jug to store in your fridge.
Step 6 (Optional)
Depending on what you will be using your almond milk for, you may want to add some sweetness. Add in a drop or two of vanilla essence to give it more flavour. You can also add a sweater to your milk if you prefer sweeter milk – my go-to is honey.
You’re all done. You can generally keep the fresh almond milk in your fridge for 3 days.


